Reviewed · TOKYO
Urban Geometry with Laurence Bouchard
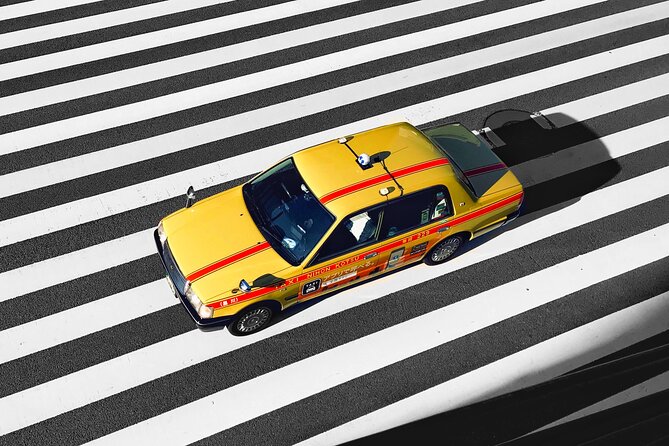
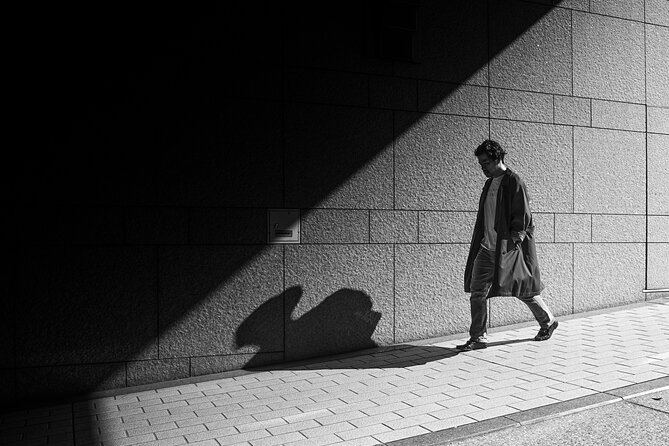
Tokyo turns into a photo puzzle fast. This workshop gets you looking past the usual routes and into lines, shadows, and reflective surfaces, with a strong push toward high-contrast black-and-white shooting. I like that it feels like a practical training session, not a sightseeing shuffle.
Two things stand out: Laurence Bouchard gives feedback tailored to your camera and skill level, and he’ll even step in to model or act as a stand-in when subjects are hard to find. One possible drawback: you’ll need a fully charged phone/camera and solid walking shoes, because the focus is on stopping, shooting, and adjusting—not rushing by landmarks.
In This Review
- Key highlights in plain English
- Urban Geometry in Tokyo: seeing the city like a photographer
- Price and what $130.31 gets you in real terms
- Ebisu Garden Place: photographing shadow made by architecture
- Roppongi’s hidden spots: learning timing and positioning
- The National Art Center: using glass to make structure visible
- Tokyo International Forum and Yurakucho: reflective depth and graphic framing
- How Laurence Bouchard helps you improve fast (without guessing)
- What to bring (and why it matters more than you think)
- Group size, meeting point, and the rhythm of the walk
- Who this workshop suits best (and who might not)
- Should you book Urban Geometry with Laurence Bouchard?
- FAQ
- How long is Urban Geometry with Laurence Bouchard?
- What is the group size?
- Where does the photo walk start?
- What time does it start?
- What should I bring?
- Is there free cancellation?
Key highlights in plain English
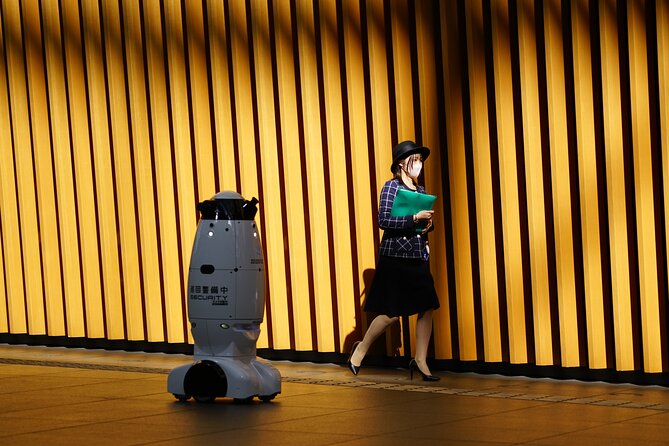
- Small group format (max 6): easier, faster feedback and more time at each spot
- Black-and-white + contrast focus: helps you see structure, not just scenery
- Laurence models when needed: you get real framing practice even when the street is quiet
- Practical coaching for your level: guidance that can transfer to any city
- Multiple “pattern” locations across Tokyo: Ebisu, Roppongi, the National Art Center, Tokyo International Forum, and Yurakucho
Urban Geometry in Tokyo: seeing the city like a photographer
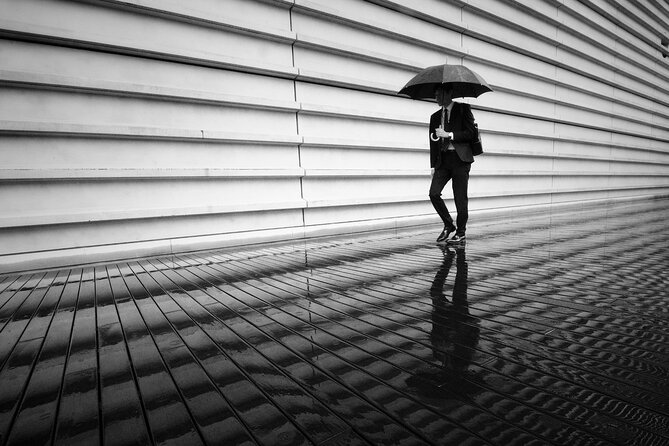
If you’ve ever taken a great photo on accident, this is the kind of workshop that helps you do it on purpose. Instead of following a tourist checklist, you’re taught to notice the geometry Tokyo already offers: edges that line up, shadows that cut across a wall, and reflections that multiply what you thought you saw.
You’ll spend about four hours working your way through several distinct areas, and the point is consistent: practice seeing. The workshop is designed to sharpen your framing instincts—so when you get home, you’re not stuck copying Tokyo postcard scenes. You’ll know how to build a strong composition anywhere.
And yes, there’s a clear style choice. The emphasis is on high-contrast imagery and black-and-white shooting. That matters because monochrome strips away distractions. Color can hide visual structure. Black-and-white forces the city to show you its shapes.
Readers booked these Tokyo options in the same breath. Here is how each one scored:
- Mt Fuji and Hakone 1-Day Bus Tour Return by Bullet Train
★ 5.0 · 26,383 reviews - 1-Day Tokyo Bus Tour
★ 5.0 · 14,250 reviews - Tokyo: teamLab Planets TOKYO Digital Art Museum Entry Ticket
★ 4.6 · 9,779 reviews - Mt Fuji & Hakone Cruise, Drum Show Bullet Train 1 Day from Tokyo
★ 4.0 · 7,413 reviews
Price and what $130.31 gets you in real terms
At $130.31 per person for roughly four hours, the value isn’t about a long list of famous stops. It’s about focused attention from one photographer in a small group.
In a group of six, you can actually get correction when something’s off—timing, angle, exposure choice, or how you’re handling the background. A big tour with 20 people might point you toward good viewpoints. This one is about tightening your results through guidance and review.
Also, this tends to book ahead (the average booking window is about 36 days). That’s usually a sign of limited capacity and steady demand, so if you’re even slightly interested, I’d reserve sooner rather than later.
Ebisu Garden Place: photographing shadow made by architecture
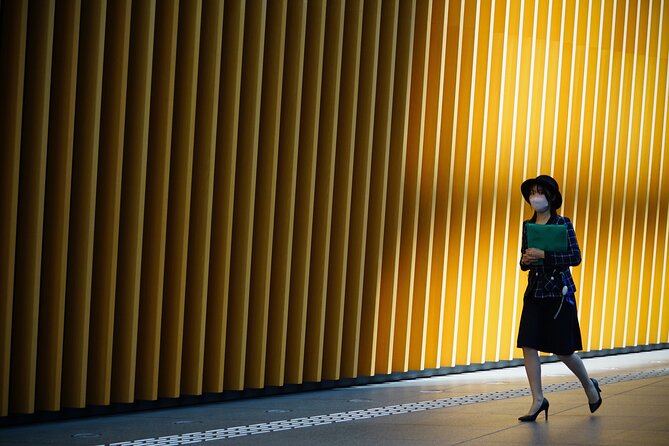
You start in Ebisu at Ebisu Garden Place, and the vibe here is very “Tokyo pattern work.” Think trellises and canopies creating shade grids—exactly the kind of scene that helps you train your eye for lines.
This is a strong first stop for two reasons. First, it sets the theme immediately: you’re not hunting for the photo, you’re learning how to extract it from what’s already around you. Second, it’s a manageable environment to practice contrast and framing while the group gets into rhythm.
What you should aim for here:
- Look for repeating shapes created by the canopy.
- Let the shadows do the heavy lifting, then simplify the composition so the geometry reads instantly.
- If you’re shooting black-and-white, pay attention to how light-to-shadow transitions will turn into midtones and deep blacks.
A small consideration: if your comfort level is still developing with manual controls or exposure settings, you may feel a learning curve early. The benefit is you’ll get coaching right away, not hours later.
Roppongi’s hidden spots: learning timing and positioning
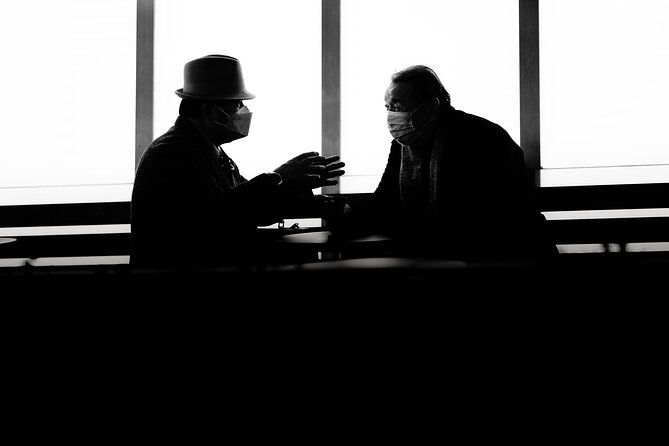
Next comes Roppongi, described as having a few less obvious shooting locations. This is where the workshop becomes more than theory. You’ll practice positioning yourself so the city’s “design elements” show up cleanly—before the moment passes.
Roppongi also helps with another skill: timing. Urban scenes are rarely still, and reflections, passing people, and shifting light can make or break a composition. This stop is ideal for practicing quick adjustments: stepping a little left, changing height, or waiting for the frame to line up.
What I like about a stop like this is that it teaches you something you can reuse. In any city, you’ll run into crowds or confusing backgrounds. The workshop approach nudges you to solve that with angle and timing rather than giving up.
The National Art Center: using glass to make structure visible
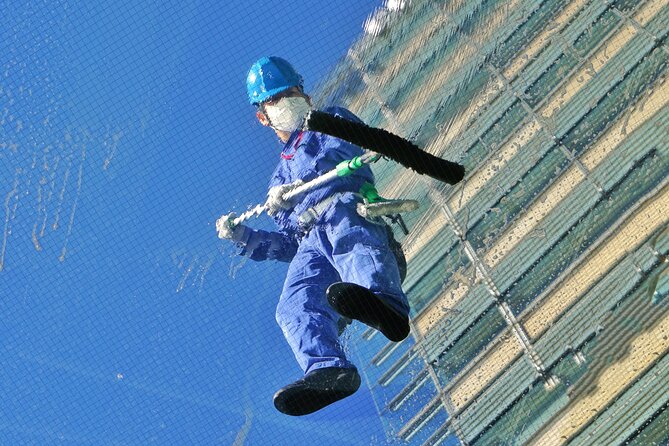
Then you move into the National Art Center, Tokyo, with its massive glass facade and the shadows it casts. This is a fantastic setup for learning how modern architecture can become graphic design.
Glass surfaces do two useful things for photographers:
- They create reflections that add layers to your image.
- They create strong shadow edges that look crisp in black-and-white.
This stop is where high-contrast shooting really earns its keep. In monochrome, those hard edges read like bold shapes. Instead of the building being just a backdrop, it becomes part of the composition.
A practical tip for your thinking during this segment: don’t only shoot what’s “pretty.” Shoot what has structure. Ask yourself whether the lines guide the eye, whether the tonal difference between shadow and light is strong enough, and whether the background is doing more than cluttering.
Also, because the group is small, you’re more likely to get direct direction on whether your angle is working, rather than being told to move on.
- Tokyo: Shinjuku Food Tour (13 Dishes at 4 Local Eateries)★ 5.0 · 6,603 reviews
- Tokyo Mt Fuji 5th St & Hakone Cruise Bus Tour w/Bullet Train★ 4.4 · 5,024 reviews
- Flagship 2-Hours Official Street Go-Kart Tour – Tokyo Bay Shop★ 5.0 · 4,974 reviews
- From Tokyo: Mount Fuji Full-Day Sightseeing Trip★ 4.5 · 4,970 reviews
- Tokyo: Hop-On Hop-Off Sightseeing Bus Ticket★ 3.9 · 4,207 reviews
Tokyo International Forum and Yurakucho: reflective depth and graphic framing
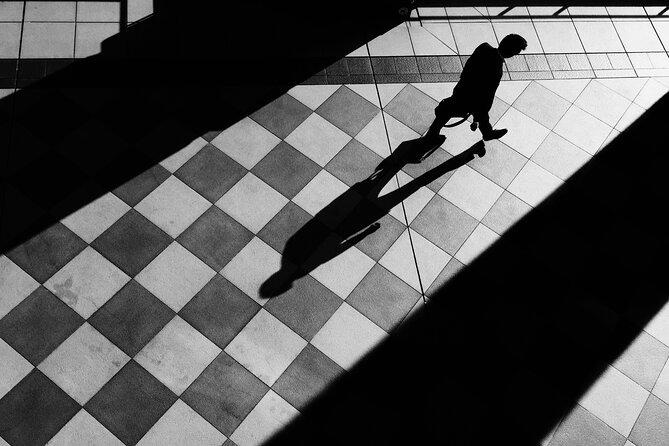
After the National Art Center, you head toward Yurakucho, with a focus on the hidden depths of the Tokyo International Forum. This is one of the more intriguing parts of the concept: reflective urban spaces and architectural depth can create compositions that feel layered and intentional.
When you’re photographing “depth,” you’re really working on separation—foreground from midground from background. Reflections can help, but they can also distract if you don’t control what’s showing. Expect to refine your framing choices, especially around:
- Where the brightest areas fall in your image
- How reflections overlap other lines
- Whether your subject area stays readable in black-and-white
Yurakucho is a good ending zone because it feels like a shift from iconic building moments to more nuanced street-level geometry. By then, you’ve already trained your eye on shadows and facades. Now you’re applying that skill to spaces where the “picture” isn’t obvious at first glance.
How Laurence Bouchard helps you improve fast (without guessing)
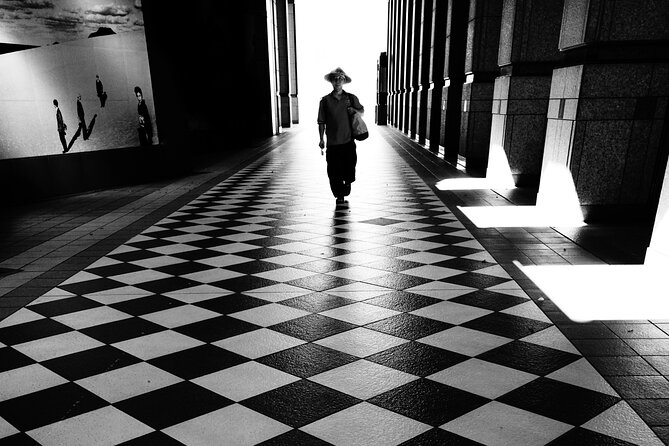
A lot of photo workshops give you locations. This one is better because Laurence Bouchard gives you a workflow: look carefully, frame intentionally, and then learn from what you captured.
The most praised aspect is the feedback style—tailored to your camera and skill level. That’s not just nice. It changes results. If you’re using a phone versus a dedicated camera, your limits and options are different. If you’re early in learning exposure, your questions will be different than someone comfortable with shutter speed and aperture. The workshop’s structure supports that.
Laurence also addresses a very real problem: sometimes there’s no subject worth photographing. Multiple participants highlighted that he’ll step in as a passerby or model in less crowded spaces. That’s smart coaching. It keeps your session productive, and it gives you a chance to practice composition with a human element when the street doesn’t cooperate.
If you want to get the most out of the feedback, come ready to show your results quickly. After you shoot, pause and ask for one clear adjustment. You’re not trying to master photography in four hours. You’re trying to take one or two ideas home and apply them immediately.
What to bring (and why it matters more than you think)
This workshop is short, so preparation is part of the experience. Here’s what’s specifically recommended:
- A 100% charged phone/camera
You’ll need your device active the whole time for shooting and checking what you’re doing. Running out of battery mid-session is a morale killer, and it wastes the pacing of the group.
- Comfortable shoes
You’ll be walking and stopping often, moving between architectural angles and shooting positions.
- A Suica or Pasmo card for the metro if possible
You’re near public transportation, but having a transit card makes movement easier between areas.
Also, because it’s a mobile ticket experience, make sure you can access your ticket on the day—simple, but worth a quick check.
Group size, meeting point, and the rhythm of the walk
This activity keeps the group small, with a maximum of six people. That’s a big deal for a photo workshop. In a small group, you’re not waiting your turn while someone else shoots. You get to correct your framing while it’s still fresh in your mind.
The session starts at 9:00 am at 4-chōme-2-6 Ebisu, Shibuya, Tokyo 150-0013, Japan, and it ends back at the meeting point. That loop matters for planning your day afterward. You can treat it as a focused morning activity rather than a whole-day commitment.
If you like structured practice—shoot, look, adjust, repeat—this rhythm should feel satisfying.
Who this workshop suits best (and who might not)
This is ideal if you:
- Want to improve your photography through direct, practical coaching
- Like black-and-white or high-contrast images
- Enjoy exploring cities through design details: shadows, edges, reflections, patterns
- Prefer small groups over big tour crowds
It may not be the best fit if you’re looking for a long list of major sights with minimal instruction. This is about training your visual habits, not ticking boxes. If you’re more interested in casual wandering with no feedback component, you might find it a bit intense for the time you have.
Should you book Urban Geometry with Laurence Bouchard?
I’d book it if you want Tokyo to teach you how to see. The combination of strong location choices (Ebisu, Roppongi, the National Art Center, Tokyo International Forum, Yurakucho) and hands-on guidance is what makes this stand out.
The strongest reasons to say yes are:
- Feedback tailored to your level
- A small group where you can actually improve during the session
- Laurence stepping in to help you practice when the street doesn’t give you a perfect subject
- A clear shooting focus on contrast and black-and-white geometry
If that sounds like your kind of day, this workshop is a smart use of your time in Tokyo. You’ll leave with images that feel designed, not just recorded.
FAQ
How long is Urban Geometry with Laurence Bouchard?
It runs for about 4 hours.
What is the group size?
The workshop has a maximum of 6 travelers.
Where does the photo walk start?
It starts at 4-chōme-2-6 Ebisu, Shibuya, Tokyo 150-0013, Japan.
What time does it start?
The start time is 9:00 am.
What should I bring?
Bring comfortable shoes, and make sure your phone/camera is fully charged (100%). A Suica or Pasmo card is recommended for the metro if possible.
Is there free cancellation?
Yes. You can cancel up to 24 hours in advance for a full refund.
More Tour Reviews in Tokyo
- Mt Fuji and Hakone 1-Day Bus Tour Return by Bullet Train
★ 5.0 · 26,383 reviews - 1-Day Tokyo Bus Tour
★ 5.0 · 14,250 reviews - Tokyo: teamLab Planets TOKYO Digital Art Museum Entry Ticket
★ 4.6 · 9,779 reviews - Mt Fuji & Hakone Cruise, Drum Show Bullet Train 1 Day from Tokyo
★ 4.0 · 7,413 reviews - Tokyo: Shinjuku Food Tour (13 Dishes at 4 Local Eateries)
★ 5.0 · 6,603 reviews