
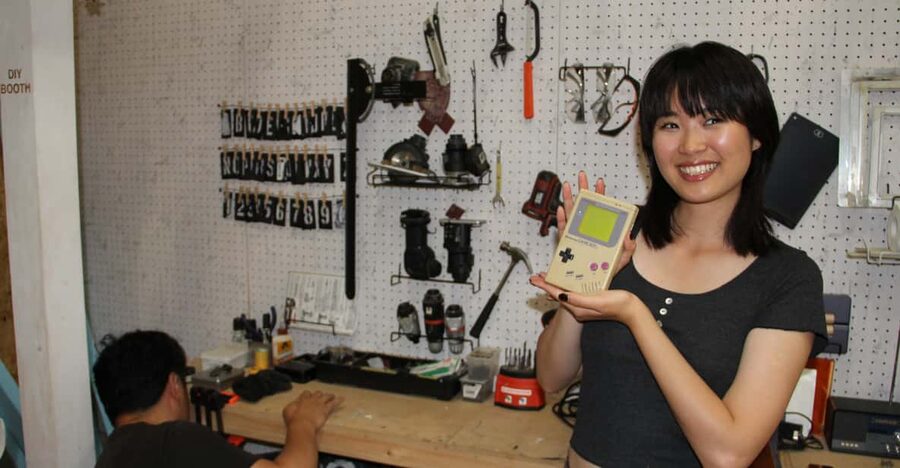
Reviewed · AKIHABARA ANIME TOURS
Tokyo: Gameboy Mod Workshop at Akihabara
A Game Boy in pieces is oddly fun. In Akihabara, you’ll pick parts, learn why the original design matters, and build a one-of-a-kind handheld to take home.
I really like the hands-on nature of it and the fact you choose your own shell, buttons, and screen details for a custom result. I also enjoy the tech + history part, where staff such as Ro, Gabi, Franz, and Shio san explain the evolution of Nintendo handhelds in plain language.
One consideration: it’s on the second floor of Wakita Building with no elevator or escalator, so it won’t work well if you need step-free access.
In This Review
- Key highlights at a glance
- Why Akihabara is the perfect setting for a Game Boy mod
- The practical reality: meeting at Wakita Building (second floor)
- The two-hour flow: history first, then build, then play
- 1) Start with handheld history and how the pieces fit
- 2) Pick your parts and design choices
- 3) Take apart and rebuild with guidance
- 4) Finish with a working result and a games section
- Choosing colors, buttons, and screen details (where the workshop shines)
- The “Gameboy Masters” and how help really works
- Value check: is $360 for a custom DMG-01 fair?
- Who this workshop suits (and who might feel out of place)
- Great fit if you’re into any of these
- Not ideal if you want a passive activity
- Kids and teens
- Logistics and comfort tips for your build day
- What you take home: more than a novelty
- Should you book the Tokyo Game Boy Mod Workshop in Akihabara?
- FAQ
- How long is the Game Boy mod workshop?
- What does it cost?
- Where do I meet the workshop?
- Is the workshop in English?
- How big is the group?
- What Game Boy model do you modify?
- What customization options are included?
- Will I leave with a working Game Boy?
- Is there wheelchair accessibility?
- Can I cancel after booking?
Key highlights at a glance
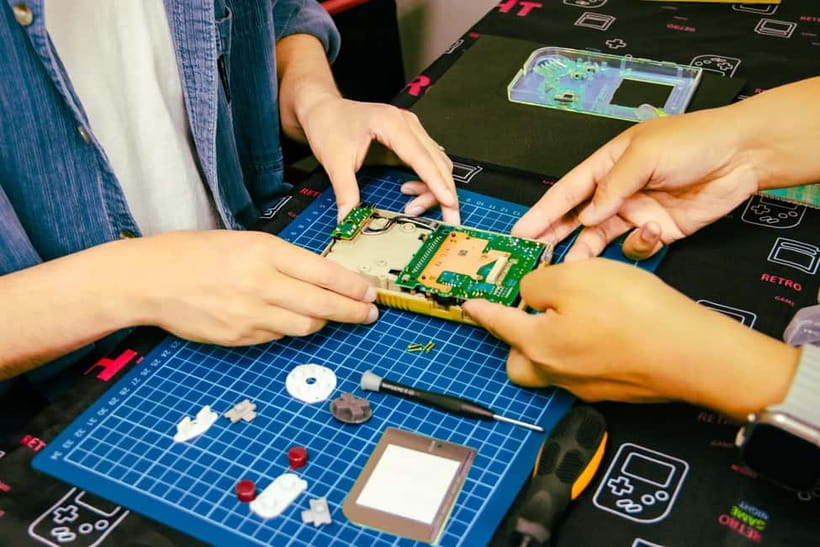
- Pick your own DMG-01 starting device and design direction before you ever touch a screwdriver
- Choose the look: shell color, button choices, and screen surround options
- Rebuild for real: you take the Game Boy apart and put it back together with guided help
- Small group energy: limited to 4 participants, so questions don’t get lost in the crowd
- You leave with something functional: a completed, working console plus a keepsake case some groups receive
- Games are part of the fun: you can try and purchase retro titles after the build from their selection
Why Akihabara is the perfect setting for a Game Boy mod
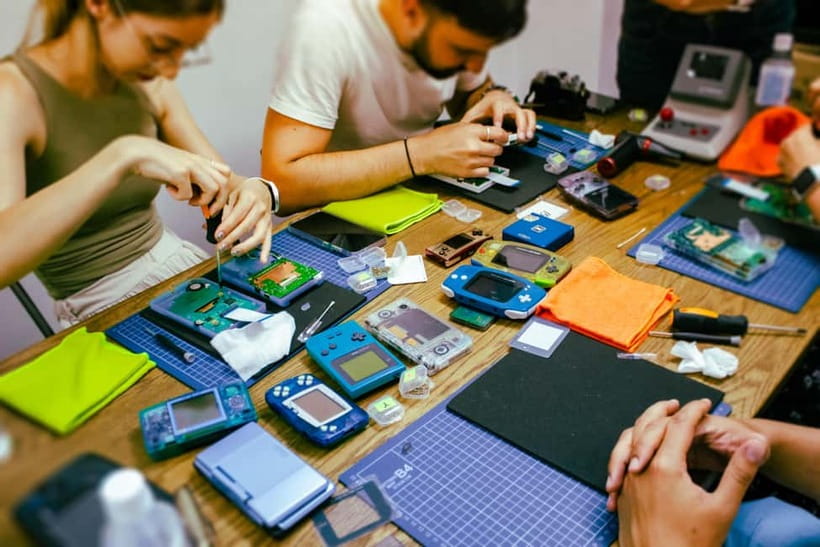
Akihabara is one of those places where your inner nerd stops whispering. It’s a district built around electronics, retro gear, and game culture, so a Game Boy workshop doesn’t feel like a random activity. It feels like you’re doing something that belongs here.
This workshop leans into that vibe with a mix of hands-on building and Nintendo handheld context. You’re not just getting a souvenir you hang on a shelf. You’re learning enough about how the machine works that the finished Game Boy feels earned, not boxed.
And because the session stays small (up to four people), the tone is different from bigger, more lecture-heavy classes. You can actually ask questions, point out what you’re doing, and get feedback while you’re building.
More of Akihabara, ranked by our reviewers
- Official Street Go-Kart Tour – Akihabara
★ 5.0 · 1,578 reviews - Tokyo Go Kart: Asakusa, Skytree, and Akihabara **IDP MUST**
★ 5.0 · 988 reviews - Akihabara Anime & Game Adventure Walking Tour (Group or Private)
★ 5.0 · 404 reviews - Tokyo: Gameboy Mod Workshop at Akihabara
★ 5.0 · 253 reviews
The practical reality: meeting at Wakita Building (second floor)
Your meeting point is on the second floor of Wakita Building. That matters more than it sounds. If you’re arriving on foot, you’ll want to give yourself a few extra minutes to find the correct entrance and then climb up. No elevators or escalators means you should plan around stairs if mobility is a concern.
The staff run the session in English and Japanese, and the instructor is listed as English and Japanese. In practice, that’s a big deal for comfort. You won’t be stuck guessing what a step means, especially during the parts where you’re working with small components.
Also worth knowing: it’s a 2-hour experience, and sessions run based on availability. If you’re pairing this with other Akihabara stops, treat it like a “main event,” not something to squeeze in between errands.
The two-hour flow: history first, then build, then play
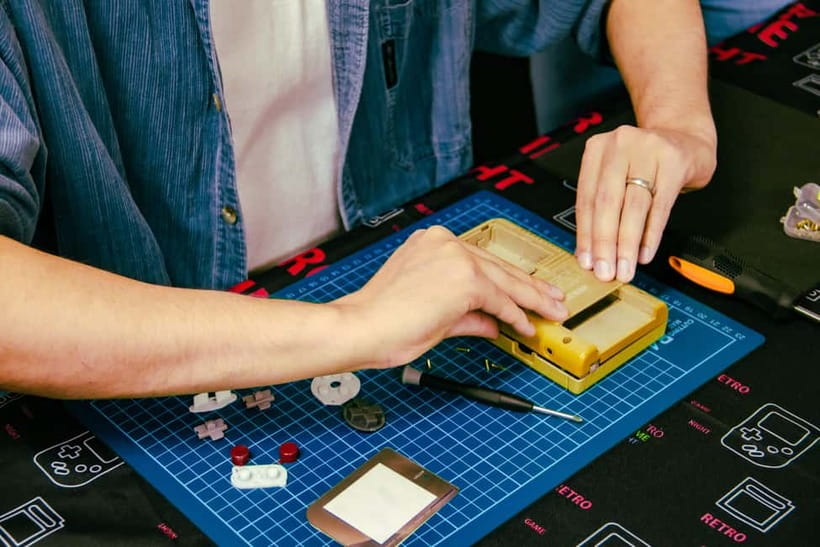
The workshop is built around a simple arc: you start with background, move into construction, then test and finish.
1) Start with handheld history and how the pieces fit
Before you take anything apart, you get a short session on Game Boy history and influence, plus a look at other handheld consoles. Multiple reviews highlight that the staff explain the “why” behind the tech, not just the “how” of assembling parts. That makes your build feel more meaningful.
It also helps you avoid the classic souvenir problem: you buy something retro, but you don’t really understand it. Here, you learn enough to appreciate what you’re modifying and how the original design influenced later handhelds.
2) Pick your parts and design choices
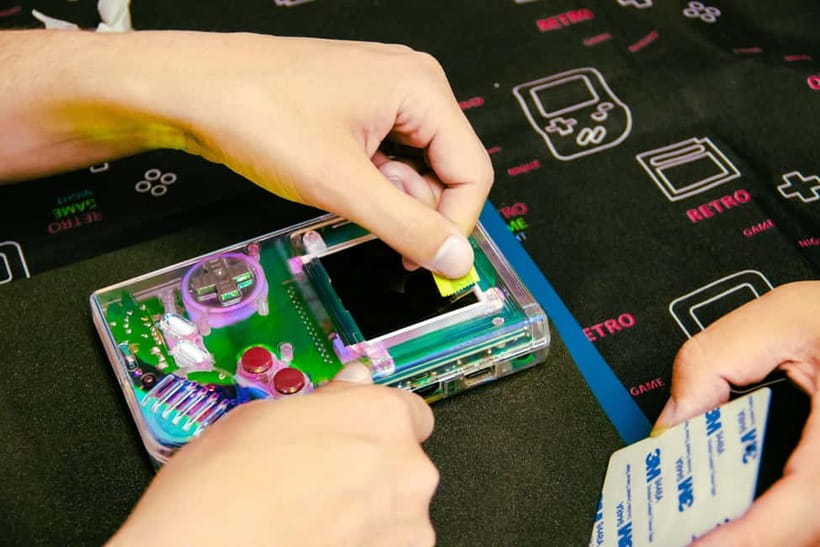
Once the intro clicks, you get to choose. The core options include picking your own Game Boy device (DMG-01) and customizing things like screen, buttons, and colors. Reviews mention that customization can include choices beyond the basics, and that the staff are patient while you decide.
If you’re doing this solo, the “pick and plan” part keeps it from feeling awkward. You’ll be busy from minute one. If you’re doing it with a partner, it also becomes an active shared moment: you can compare what you picked and why.
Readers also shortlisted these Tokyo bookings:
- Sushi Making Tokyo Roll and Authentic Japanese Sushi Class★ 5.0 · 3,971 reviews
- Tokyo: Roll and Authentic Sushi Making Class in Asakusa★ 4.9 · 1,957 reviews
- Tokyo Shinjuku Chopsticks Making Class★ 5.0 · 1,763 reviews
- Tokyo: Sushi Making Class in a Happi Coat near a Famous Spot★ 4.9 · 1,377 reviews
- Chopstick Making Workshop in Ginza★ 4.8 · 1,366 reviews
3) Take apart and rebuild with guidance
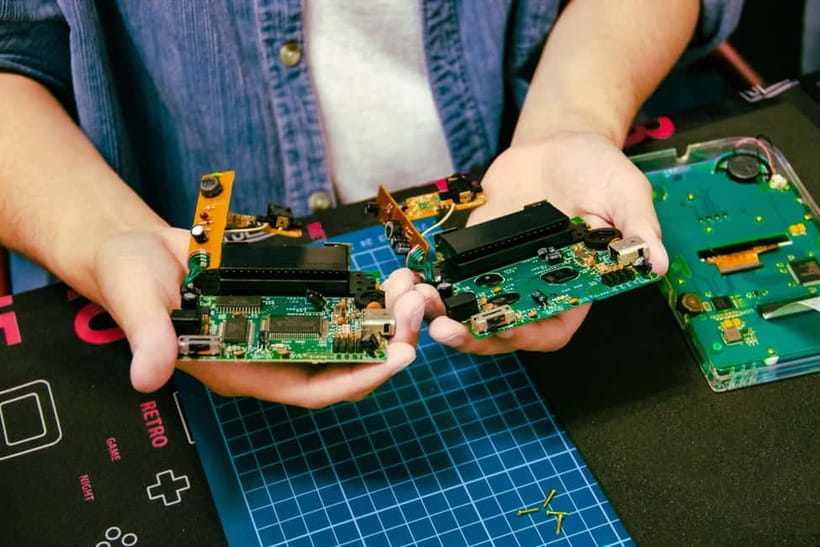
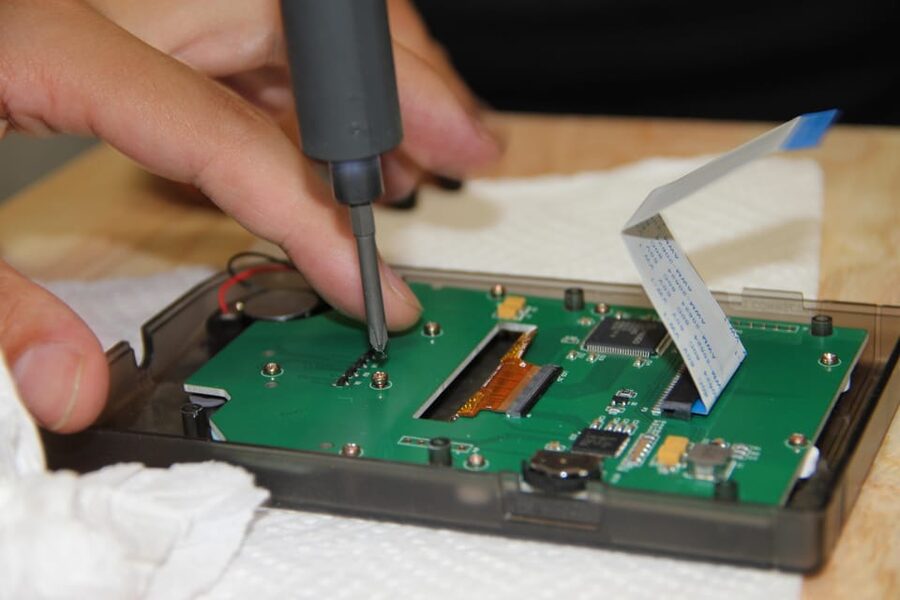
This is the heart of it. You’ll take your Game Boy apart and rebuild it, while assistants guide you through each stage. The repeated theme in reviews is that the crew checks your work and steps in quickly if something doesn’t go smoothly.
This matters because modding is fiddly. Screws, connectors, and tiny alignment details can turn a fun DIY project into a frustrating puzzle. The workshop’s value is that you’re doing the work, but you’re not doing it blind.
4) Finish with a working result and a games section
You leave with a fully functioning Game Boy you built yourself. Reviews also mention that staff help ensure everything works, and that after building you can select from a game collection.
One review notes people can choose a game around a 1,000 yen value from their selection, and others describe boxes of games you can try and purchase. So plan to browse a bit after the build, not just rush out to your next stop.
Choosing colors, buttons, and screen details (where the workshop shines)
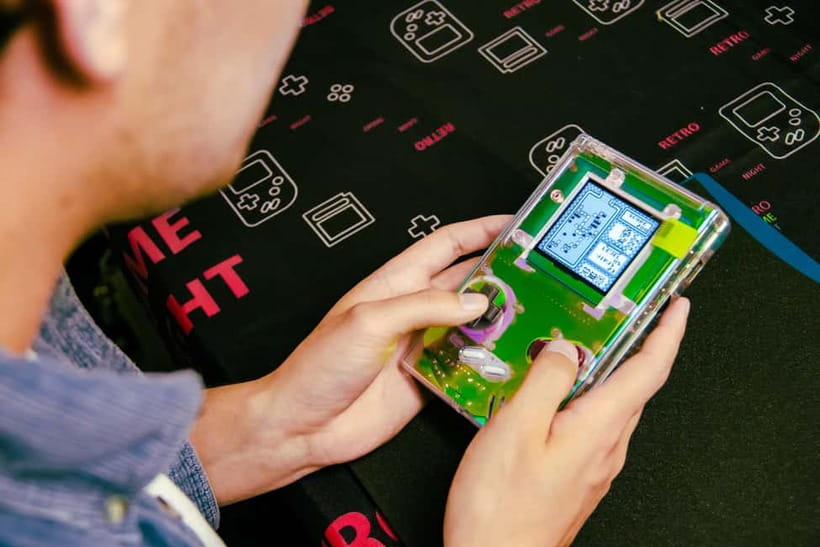
The best Game Boy mods are the ones you actually want to look at. That’s why the customization step is more than just decoration. It turns the console into a personal object, something you’ll remember when you play.
Here’s what you can customize based on the workshop description:
- Screen options (including screen surround and upgrades noted in reviews)
- Buttons (you choose the button style)
- Color choices for the casing and parts
What I like about this approach is that it stays focused. You’re not handed a huge spec sheet. You’re guided to make a few high-impact design decisions that genuinely change the look and feel.
Also, reviews specifically mention an improved backlit screen and additional features. Translation: your take-home Game Boy is meant to be enjoyable in normal lighting, not only as a museum piece. That makes the workshop a better souvenir because it’s playable right away.
The “Gameboy Masters” and how help really works
This is one of those activities where the staff make the difference between interesting and stressful.
Across reviews, people repeatedly point out:
- The guides are energetic and clearly passionate about gaming
- They’re patient and explain steps in a way that works for beginners
- They troubleshoot quickly if there’s a snag
- They make it easy to chat and ask questions
Several reviews name staff members, including Ro, Gabi, Franz, Frenz, and Shio san. Even if your session has different instructors, the pattern is consistent: you’re working with people who genuinely like what they do.
One practical takeaway for you: if you’re even slightly nervous about handling electronics, you’re not the only one. The workshop runs with small group sizes and a hands-on workflow, which naturally encourages one-on-one support.
Value check: is $360 for a custom DMG-01 fair?
Let’s talk money without pretending it’s cheap.
At $360 per person for 2 hours, this isn’t a budget workshop. But reviews also emphasize something important: staff are working with real retro hardware, sourcing parts, and running sessions for very small groups. One review explicitly compares prices in Akihabara and suggests the workshop can be better value than some stores, especially when you add in the fact that the console is customized and built for you with guidance.
Here’s how I’d frame the value for you:
- You’re paying for time + instruction (real human help)
- You’re paying for parts and hardware handling
- You’re paying for a custom, playable console instead of a generic “shop-bought” souvenir
- You also get access to a game selection onsite after building, which can reduce your need to hunt for specific titles later
If you’re the type who likes retro gaming but doesn’t enjoy tinkering, you’ll feel the value most. You get the experience without the “I ruined it” risk.
If you already have strong electronics experience and tools at home, you might think of DIY building as cheaper. Still, the workshop’s biggest value is the guided support and the curated part choices that make a cool result likely on your first try.
Who this workshop suits (and who might feel out of place)
This activity fits a specific kind of traveler: the one who wants more than sightseeing.
Great fit if you’re into any of these
- Retro gaming and Nintendo handhelds
- Tech curiosity (even if you’re not an electronics person)
- Design and color choices (you like making something that looks yours)
- Gifts: multiple reviews mention this works well as a special present, especially for someone who grew up with Game Boy
Not ideal if you want a passive activity
If you’re hoping for a sit-and-watch class, this isn’t that. You’ll take things apart and rebuild. That’s the whole point. You’ll likely enjoy it more if you’re willing to be hands-on and a little patient with small parts.
Kids and teens
Reviews mention it’s enjoyed by kids in the 10 to 14 range, mainly because staff support is strong and the process is guided step-by-step. If you’re bringing a younger builder, you’ll want to be comfortable with the fact that it’s still a delicate electronics workshop, not a craft made from glue and cardboard.
Logistics and comfort tips for your build day
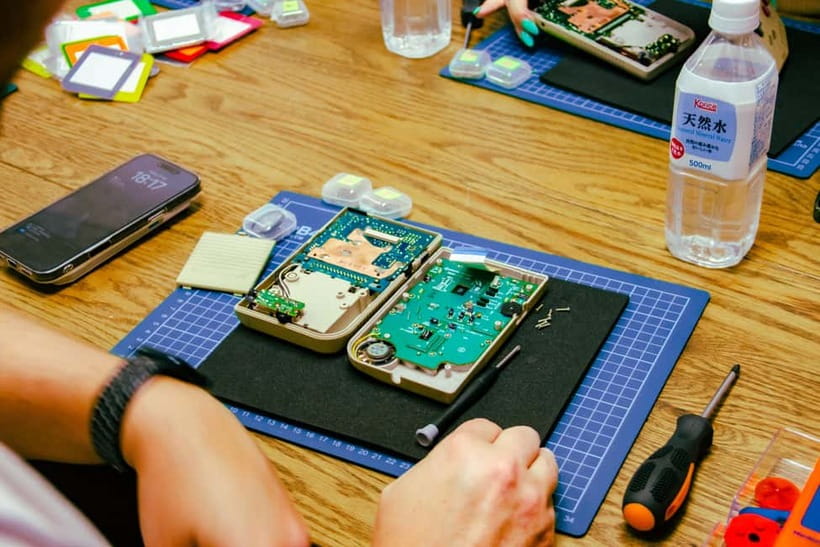
The workshop is on a second floor, and it’s a focused build session, so plan like you’re going to work on something small and precise.
I’d suggest:
- Wear comfortable clothes you don’t mind getting a little warm or near tools
- Arrive early enough to find the Wakita Building entrance without rushing
- Give yourself buffer time afterward to shop the game selection slowly, since that part can be fun
If you’re sensitive to stairs, double-check your mobility needs first because of the no-elevator setup.
What you take home: more than a novelty
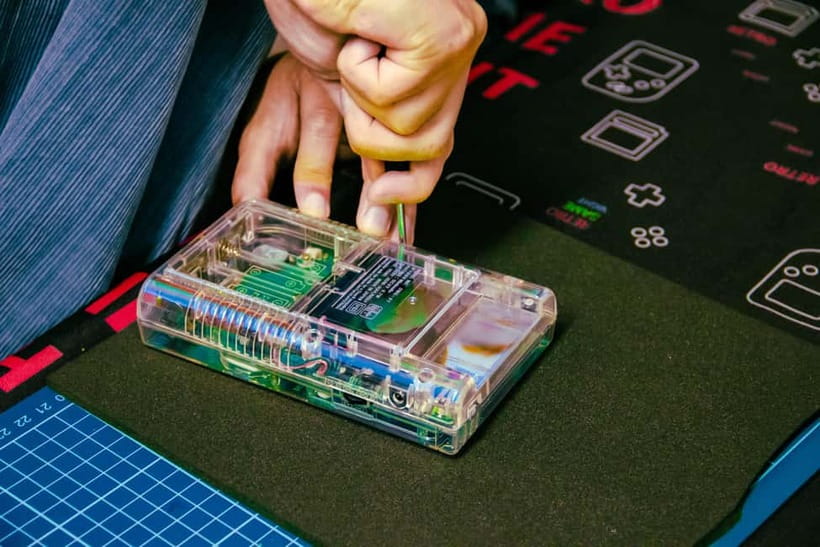
The best thing about this workshop as a souvenir is that it’s functional.
You don’t just leave with a modified shell. You leave with:
- A completed working Game Boy you built
- A console that reflects your custom choices
- A keepsake feel, reinforced by mentions of a case to display and keep the Game Boy safe
And because it’s a real device, you can play it after you return home. That turns the trip memory into a daily habit, not a one-time photo.
Some reviews also mention buying multiple games onsite right after building. That’s a smart way to maximize your experience: your new console is ready, and you’re not starting from zero.
Should you book the Tokyo Game Boy Mod Workshop in Akihabara?
If you’re deciding and you like retro games, this is an easy yes.
Book it if:
- You want a hands-on Tokyo activity that creates a take-home item you’ll actually use
- You enjoy customizing and you like the idea of choosing your own build details
- You want staff support from people who know their way around Nintendo handheld culture
- You’re traveling with someone who grew up with Game Boy nostalgia
Consider skipping if:
- You need step-free access, since it’s on the second floor without elevators or escalators
- You want a purely sightseeing day with no construction
- $360 feels like too much for a workshop compared to shopping for games or consoles
My bottom line: this is one of the rare travel activities where the “souvenir” is also the point of the experience. You’ll walk out with a story you can press Start on.
FAQ
How long is the Game Boy mod workshop?
The duration is 2 hours.
What does it cost?
The price is $360 per person.
Where do I meet the workshop?
You meet on the second floor of Wakita Building.
Is the workshop in English?
Yes. The instructor and workshop support include English and Japanese.
How big is the group?
It’s a small group limited to 4 participants.
What Game Boy model do you modify?
You personalize a vintage Game Boy (DMG-01).
What customization options are included?
You can customize things like the screen, buttons, and colors, using provided parts.
Will I leave with a working Game Boy?
Yes. The workshop is designed so you leave with a fully functioning Game Boy that you built.
Is there wheelchair accessibility?
No. The workshop is on the second floor without elevators or escalators.
Can I cancel after booking?
Free cancellation is available up to 24 hours in advance for a full refund.
More Workshops in Tokyo
- Sushi Making Tokyo Roll and Authentic Japanese Sushi Class
★ 5.0 · 3,971 reviews - Tokyo: Roll and Authentic Sushi Making Class in Asakusa
★ 4.9 · 1,957 reviews - Tokyo Shinjuku Chopsticks Making Class
★ 5.0 · 1,763 reviews - Tokyo: Sushi Making Class in a Happi Coat near a Famous Spot
★ 4.9 · 1,377 reviews - Chopstick Making Workshop in Ginza
★ 4.8 · 1,366 reviews
More Tour Reviews in Tokyo
- Mt Fuji and Hakone 1-Day Bus Tour Return by Bullet Train
★ 5.0 · 26,383 reviews - 1-Day Tokyo Bus Tour
★ 5.0 · 14,250 reviews - Tokyo: teamLab Planets TOKYO Digital Art Museum Entry Ticket
★ 4.6 · 9,779 reviews - Mt Fuji & Hakone Cruise, Drum Show Bullet Train 1 Day from Tokyo
★ 4.0 · 7,413 reviews - Tokyo: Shinjuku Food Tour (13 Dishes at 4 Local Eateries)
★ 5.0 · 6,603 reviews
More of Akihabara, Reviewed
- Official Street Go-Kart Tour – Akihabara
★ 5.0 · 1,578 reviews - Tokyo Go Kart: Asakusa, Skytree, and Akihabara **IDP MUST**
★ 5.0 · 988 reviews - Akihabara Anime & Game Adventure Walking Tour (Group or Private)
★ 5.0 · 404 reviews - Akihabara: Private Anime and Pop Culture Tour
★ 4.8 · 152 reviews - Akihabara Tailor-made Private Tour for Anime Fans
★ 5.0 · 142 reviews
Latest Tokyo reviews off our desk




Akihabara Anime Tours, compared.
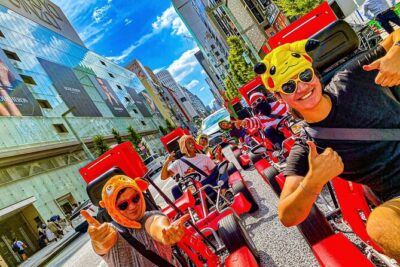 ★ 5.0Official Street Go-Kart Tour – AkihabaraFrom $611,578 reviews
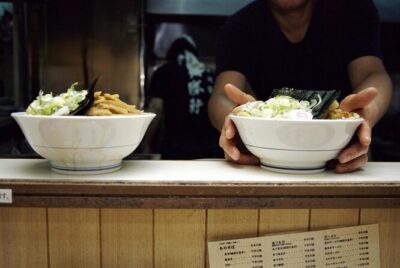 ★ 5.0Tokyo Go Kart: Asakusa, Skytree, and Akihabara **IDP MUST**From $99988 reviews
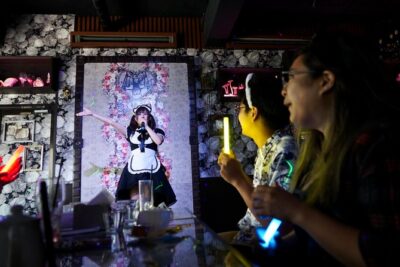 ★ 5.0Akihabara Anime & Game Adventure Walking Tour (Group or Private)From $90404 reviews
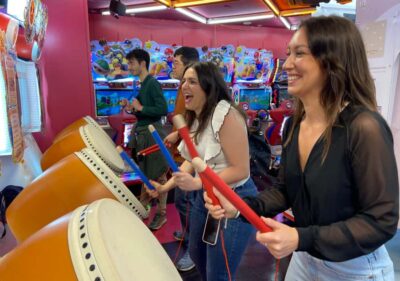 ★ 4.8Akihabara: Private Anime and Pop Culture TourFrom $95152 reviews
 ★ 5.0Akihabara Tailor-made Private Tour for Anime FansFrom $132142 reviews
 ★ 5.0Original Street Kart Experience from AkihabaraFrom $51111 reviews
 ★ 5.0Ramen Making from Scratch +Akihabara Tour –Tokyo Cooking ClassFrom $123107 reviews
 ★ 4.9Manga Drawing Workshop Guided by Pro Manga ArtistFrom $129102 reviews
Browse the lists this tour appears in